
The Major's Texas Brisket: Start to Finish
Plan a Texas-style brisket cook from selection and trimming to checking tenderness, holding safely and slicing. A practical sequence with room for the cook to run long.
Affiliate disclosure: This page may contain affiliate links. As an Amazon Associate I earn from qualifying purchases. Full disclosure.
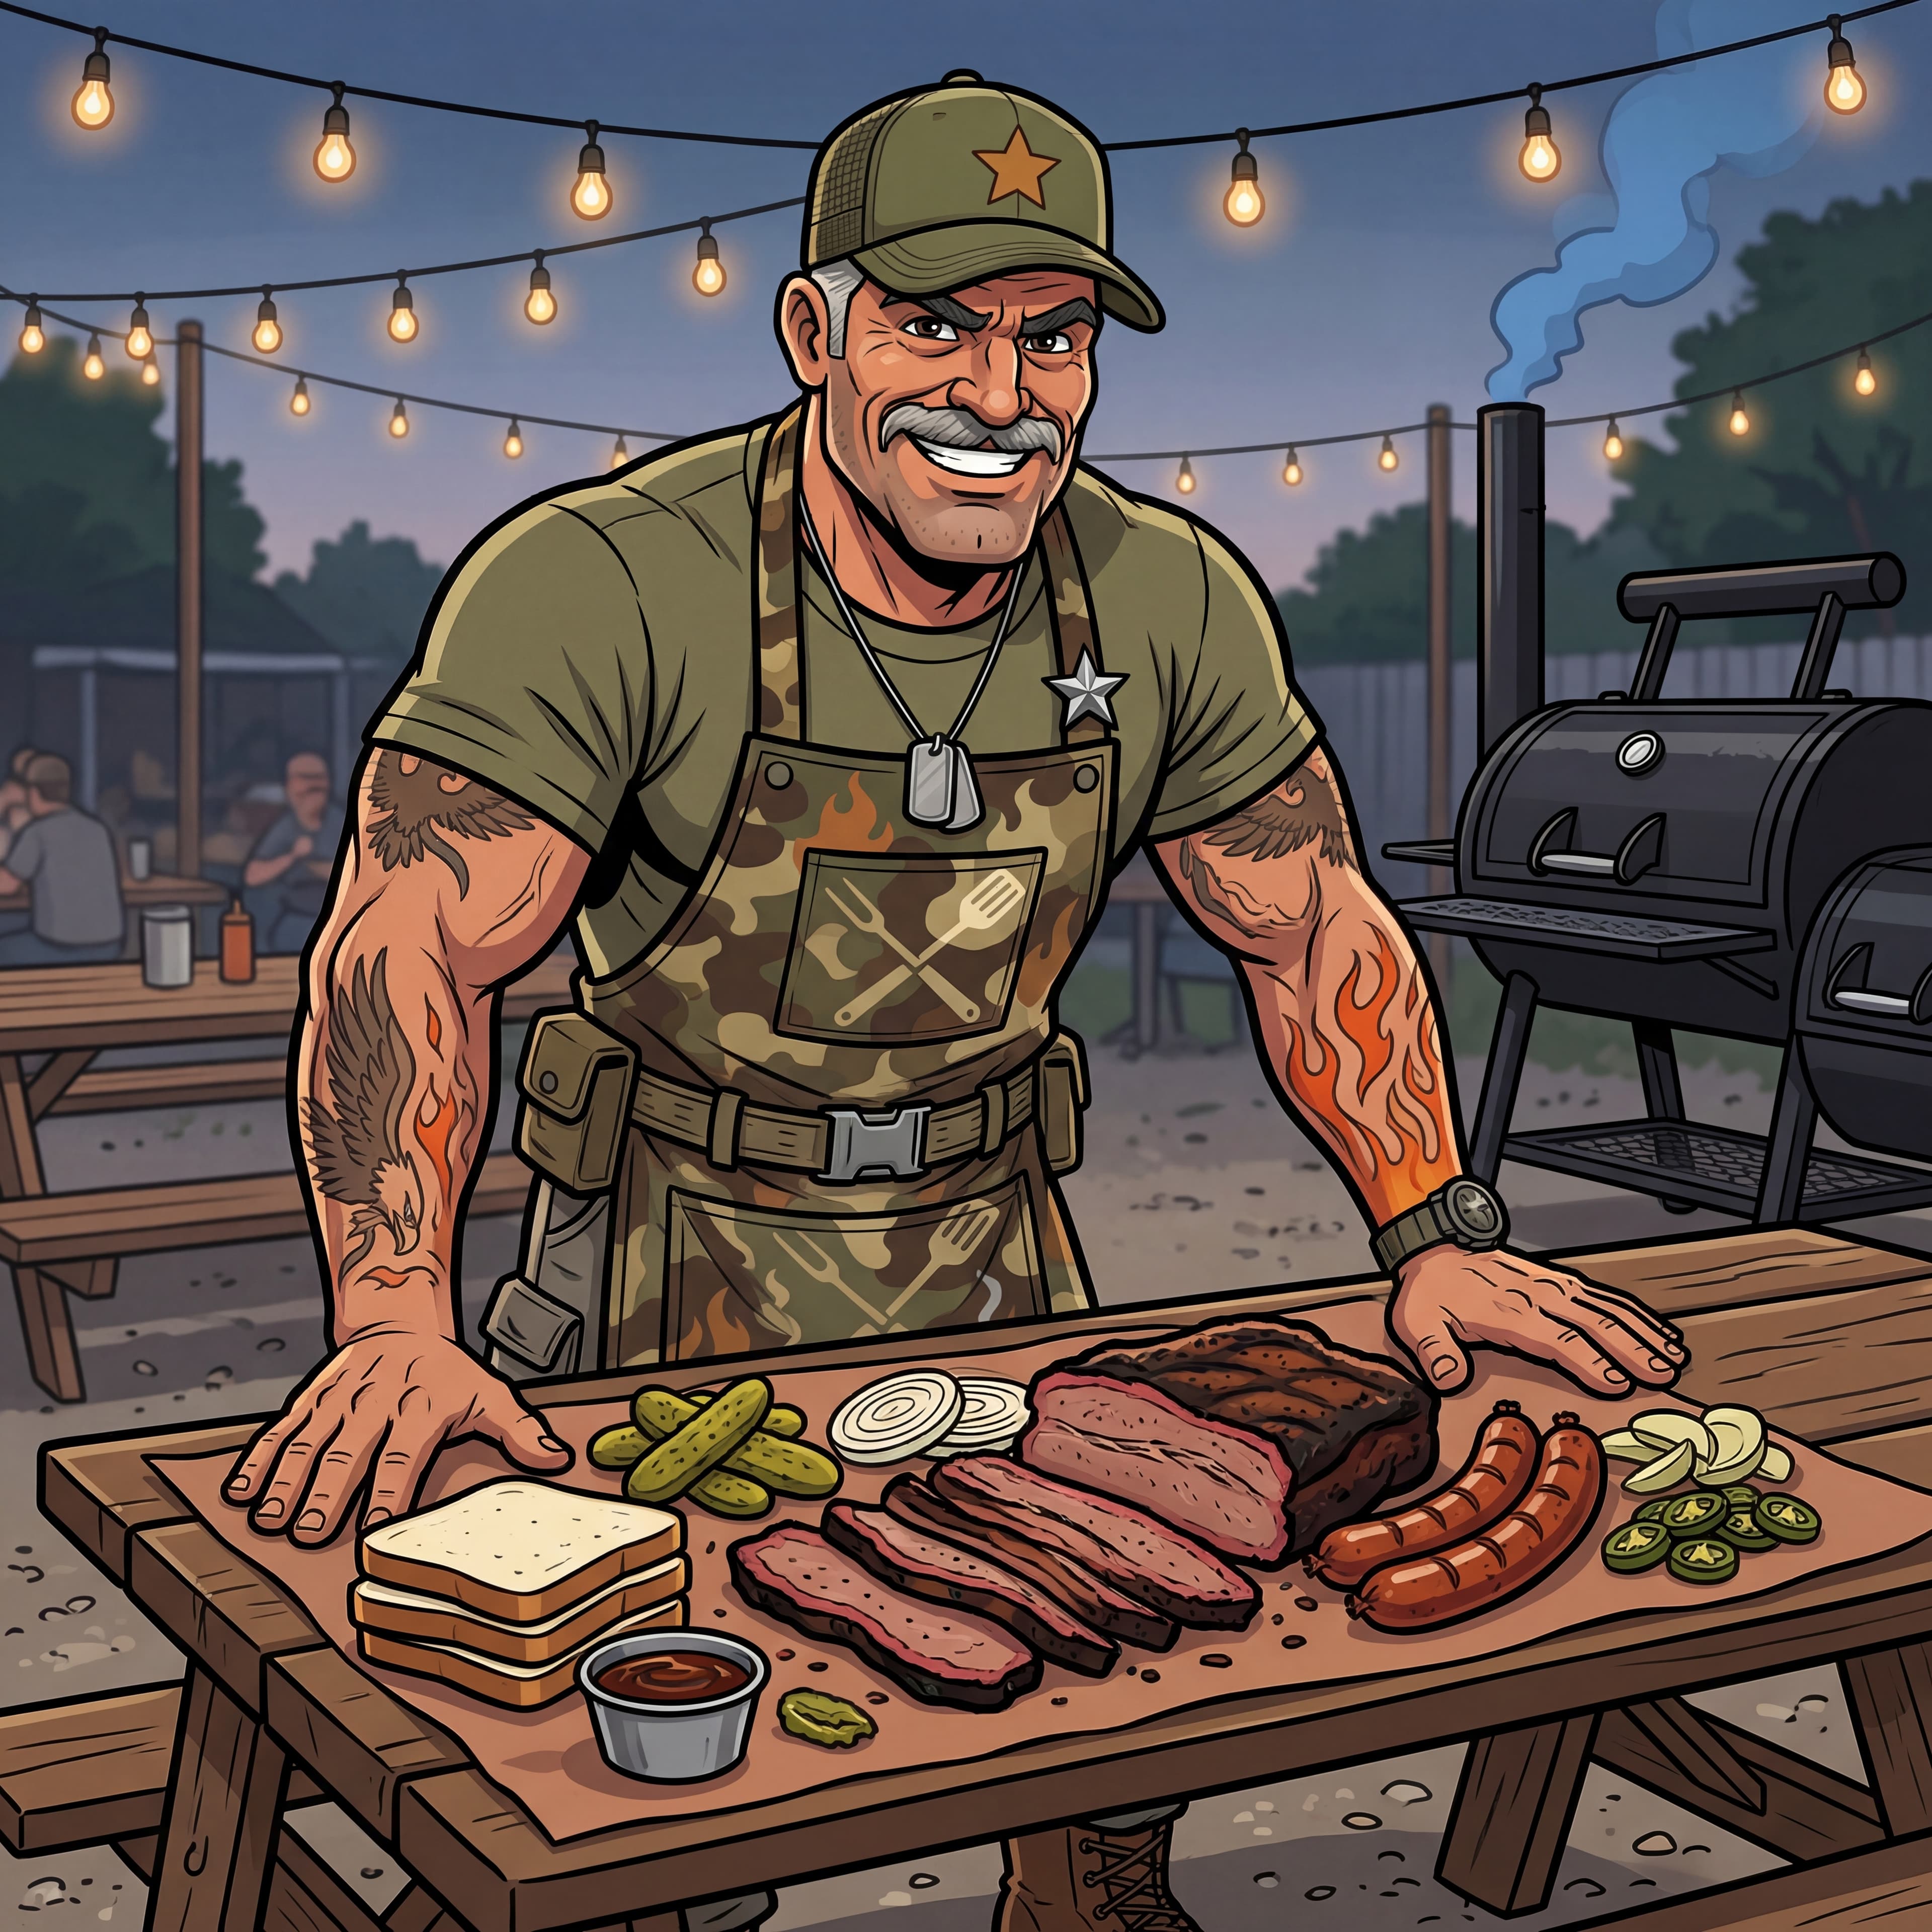
One brisket. One plan. Start with a Choice packer, salt and pepper, a controlled fire and time to spare. Check the bark before wrapping, check tenderness before pulling, and monitor a safe hold before slicing. Cook times vary with the meat and equipment; keep a backup serving plan. Major Wood is our fictional guide, and this article is an editorial cooking reference, not a report of a documented test cook.
What You'll Need
This is the loadout. Get it on the counter before you start.
The brisket. A whole packer, 12 to 16 pounds, Choice or high-Choice. Costco, restaurant supply, or a real butcher — all work. Don't buy a flat-only. You want both muscles, point and flat, with the deckle fat between them. If the meat case has you blinking like a recruit at inspection, the Major's grade-by-grade buying guide breaks down Select through Wagyu.
The rub. Coarse kosher salt and 16-mesh black pepper. Equal parts by volume. Optional pinch of granulated garlic. That's it. Anyone telling you different is selling something.
The knives. A 6-inch boning knife for the trim. A 12-inch granton-edge slicer for the finish. Sharp. Both of them.
The smoker. Pellet, offset, WSM, or kamado — the method is the same on all four. Only the water-pan call changes.
The fire. Post oak, hickory, or pecan. Chunks for the WSM and kamado, splits for the offset, pellets for the pellet. No mesquite for an 18-hour cook — too aggressive. No fruit wood — too mild for beef.
The wrap. Pink or peach butcher paper. Not foil. Foil is for fast cooks; we're not doing fast.
The thermometers. Two. One ambient probe at grate level, one fast-read for the meat. The lid dial is a camp rumor. The Thermapen ONE is the Major's go-to for the meat read — fast, accurate, and you'll use it five times an hour at the back end of the cook. Cheap probes lie. Don't buy cheap probes.
The rest gear. A dry insulated cooler with a towel, or an oven that holds 150°F.
The math. Run your brisket weight through the Pitmaster Calculator before you light a match. Roughly an hour per pound at 250°F. Starting point, not a finish line.
Day Before: The Trim and the Rub
Trim cold. A cold brisket cuts clean; a warm brisket flops around like it has opinions. Pull yours from the fridge ten minutes before you trim and not a minute earlier.
The trim is the six-cut Texas trim — covered in full detail in its own post. Quick summary, in order:
- Square the flat. Remove the thin tail that would dry out and burn.
- Round the leading edges. Sharp corners burn; rounded edges hold smoke.
- Carve the fat cap to a quarter inch. Not less. Not more.
- Take off the hard fat between the point and flat — the deckle hump. It will not render in 14 hours; it will sit there mocking you.
- Strip the silver skin from the meat side. It blocks rub from biting.
- Trim any gray, oxidized edges back to red.
You'll lose 15 to 20 percent of the raw weight. That's discipline, not waste.
The rub: one cup coarse kosher salt to one cup 16-mesh black pepper. Optional two tablespoons granulated garlic. Whisk in a bowl.
Apply from a foot above the meat — let it snow down evenly across every face. Pat it in gently. Don't cake it on. Don't leave bald spots. You're building bark, not drywall.
Twelve hours before the cook, cover loosely on a sheet tray and back in the fridge. The salt pulls into the meat — call it dry-brining if you want; the Major calls it doing the work. Eight hours works. Two works. Even immediately works. But if you've got the time, give the salt the time.
The Day of: Fire Up the Pit
Set your alarm. The Major runs a 250°F pit, all day, all night.
Not 225°F because somebody on the internet wanted you awake for three days. Not 275°F because impatience got promoted. Two-fifty is the Texas number — it cooks roughly an hour per pound, builds bark fast enough to set before the wrap, and forgives a sleepy hand at 3 a.m. better than 225°F does. Pick your number and hold it.
Light the fire 45 minutes before the brisket goes on. Not 20 minutes. Forty-five.
You're chasing thin blue smoke — wispy, almost-invisible. Thick white smoke is creosote and a bitter brisket. If the stack is billowing white, the fire is starved for air. Open the intake.
Wood selection: post oak or hickory for beef. Pecan if you want a touch sweeter. Mesquite for a 90-minute steak; never for an 18-hour brisket.
Pit temperature is the temperature where the meat sits, not what the dial on the lid claims. The lid dial can be 40, 60, even 75°F off. The meat does not care what the dome thinks. Calibrate against a digital probe at grate level, six inches from where the brisket will sit.
Water pan, by smoker type:
- Pellet: run dry. Pellets already produce humid combustion.
- WSM: half-fill with hot water. Holds 250°F like a champion.
- Kamado: run dry. The ceramic walls handle humidity.
- Offset: no water pan. Chamber humidity comes from the brisket itself.
Pellet or offset is its own debate — covered in the comparison post if you want the long version.
Once the pit is steady at 250°F with thin blue smoke pouring clean, brisket on. Lid down. Don't open it for three hours.
Hours 0–6: Building the Bark
Brisket goes on fat cap UP. Texas-style. The cap renders down through the meat, basting from the top. On an offset, point toward the firebox — the point handles direct heat better than the flat.
Now: walk away.
The first three hours, the lid stays down. No peeking. No tapping. No spiritual check-ins. Every time you open it, you lose 15 minutes of cook time and a wave of smoke. There is nothing — nothing — that needs your attention before hour three. Read a book. Mow the lawn. Take a nap. The pit is doing the work.
At hour three, look. Not touch. Look. The surface should be tacky, dark mahogany, starting to set. If it's still glossy and wet, give it another hour.
Spritzing rules. The Major is not a heavy spritzer. After hour three, only if the surface looks dry-stressed — actually parched, not just dark — mist with water or water-plus-ACV. Once an hour, max. Never apple juice (sugars burn). Never beer (yeast off-notes). Bark is built by smoke and time, not by squirt bottle.
Internal temp climbs steady through 140°F, then slows. Around hour five or six you'll hit 150°F and the climb stops cold. Welcome to the stall — physics wearing a cowboy hat. Evaporative cooling is real. The stall is normal. The stall ends when you wrap.
Watch the bark more than the clock. Deep mahogany heading toward black, with pepper texture and a surface that looks set, is what you want. Pale and rubbery means you've got gray bark — the post covers the smoker-by-smoker fix. Diagnose, fix, move on.
By hour six, you're at 160°F. Bark is set. Time to wrap.
The Wrap: The Texas Crutch Done Right
The Texas Crutch is a wrap. Done right, it shaves an hour off the stall and gets the meat through the back half of the cook without drying the flat. Done wrong, it steams the bark off and hands you a pot roast.
The trigger: internal temp 160 to 165°F and the bark is set. Both. Always both. Temperature alone is a number; bark-set is the readiness signal.
The pinch test: poke the bark gently with a clean fingertip. If it doesn't smear, it's set. If it leaves a fingerprint of slick rub-paste, it's not. Wait 20 minutes and check again.
Materials: pink or peach butcher paper. Two sheets. Not foil.
Foil seals everything in — steam, juice, bark moisture. The bark you spent six hours building turns into mushy gray rub paste in 30 minutes. Paper breathes. Paper holds moisture but lets steam escape. The bark stays. The cook accelerates.
The wrap, step by step:
- Pull the brisket onto a sheet tray.
- Lay two long sheets of butcher paper, overlapping at the seam.
- Brisket fat-cap up, centered, near one edge.
- Roll tight, like a burrito. Tuck the sides as you go. No air pockets — the Major is not running a sauna.
- Finish seam-down so the brisket's own weight holds the wrap sealed.
- Slide the meat probe back in, into the thickest part of the flat.
- Back on the pit. 250°F.
You don't rush good wood. Or good brisket. The wrap is not "almost done." The wrap is halftime.
Hours 6–12: The Push to Done
Now the climb. Wrapped, the brisket pushes through the stall in roughly half the time it would unwrapped. Internal temp moves from 165°F up through 180°F, then 190°F, steadily, while the pit holds 250°F.
Check internal every 30 to 45 minutes after 190°F. Don't open the lid more than that — every peek costs you fire.
At 200°F, start probe-testing. Slide a fast-read probe into the thickest part of the flat. Test the flat first. The flat is the tattletale; the point has more fat and forgives more mistakes. What you're feeling for is resistance — or the lack of it.
Probe tender. Not temperature. Not time.
Probe-tender is a feel. The Major's phrase: warm butter. The probe should slide in like the meat is barely there. No catch. No drag. No spring-back. If it goes in like you're stabbing a watermelon, you're there. If it goes in like you're stabbing a rolled-up rug, give it 20 more minutes and probe again.
The pull range is 200°F to 207°F. Most briskets land at 203°F give or take. The Major has pulled at 198°F when the probe felt right and pushed to 207°F when it didn't. The number reports the news. The feel gives the order.
When the flat probes tender in three different spots — pull. Off the pit. Carry it inside in the paper, set it on the counter on a sheet tray, and let it breathe.
The Rest: The Step Everyone Skips
Here is where good pitmasters become great pitmasters. The Major has watched cooks nail every step for 12 hours and ruin it in the last 30 minutes by slicing too soon. Don't be that cook.
Two phases. Vented and held.
Phase 1: Vented rest, 30 minutes minimum. Brisket out of the pit, still in the butcher paper, on a sheet tray on the counter. Crack the paper open an inch — vented, not sealed. Internal temp will climb 5 to 10°F from carryover (normal — the meat is still cooking inside) and then drop. Skip this step and you seal a 207°F brisket into a closed cooler, carry it over to 215°F, and turn the point into pot roast.
Phase 2: Held rest, 1 to 4 hours. Wrap the paper tight again, towel it, into a dry insulated cooler. Or into a 150°F oven, paper-wrapped, on a sheet tray. Hold an hour minimum. Four is better. Eight is fine. Longer rest equals more juice retention, more tender flat, better slice.
The Major rests every brisket a minimum of 90 minutes total. Competition cooks rest four hours or more. If your guests show up early, the brisket is not ready. The pit does not care that your uncle arrived early. Feed them chips and pickles.
This is the step that separates decent brisket from great brisket. Don't skip it.
The Slice: Against the Grain
Unwrap onto a big end-grain cutting board, fat-cap up. Save the juices in the paper — pour them over the slices at the end. That liquid is the cook reduced into a tablespoon.
The brisket has two muscles, the point and the flat, and they run perpendicular to each other. You cannot slice the whole brisket in one direction and get it right. The Major has watched a hundred cooks try.
Step 1: Separate point from flat. Find the deckle seam — the line of fat between the two muscles. Slide your slicer in along that seam, follow it with the tip, and lift the point off the flat. If you can't find it, pull the brisket apart with two clean hands; it'll separate where it wants to.
Step 2: Slice the flat. Set the flat with the grain running left-to-right. Slice perpendicular to the grain at pencil thickness — about a quarter inch. Long, smooth strokes with a 12-inch granton-edge slicer. No sawing. Sawing tears fibers; it doesn't cut them. Dull knives ruin good brisket.
Drape one slice over a finger. It should bend without breaking and pull apart with a gentle tug. If it falls apart, you went too long. If it fights, it needed more time.
Step 3: Slice the point. Rotate the point 90 degrees — its grain runs perpendicular to the flat. Slice against the grain at pencil thickness, or cube it into 1-inch chunks, hit with a touch more rub, back into the smoker for 90 minutes for burnt ends. The point is rich, loose, and forgiving — it can also lie to beginners by tasting good even when the flat is telling the truth.
Taste a slice. Salt the table if it needs it. Serve immediately, on butcher paper, with white bread, pickles, and pickled onions. No sauce on the side unless asked.
When Something Goes Wrong
The Major has cooked enough briskets to know all the failure modes. Quick diagnostics:
- Bark is gray and rubbery. Smoke quality or pit humidity issue. The post on gray bark walks through smoker-by-smoker corrections. Almost never a rub problem.
- Stalled at 160°F for five hours and you're panicking. You're not panicking — you're right on schedule. The stall is real and the stall ends.
- Dry flat. Two causes. Either you trimmed the cap too aggressively (next time leave a full quarter inch) or you pushed past 207°F (next time start probing at 200°F).
- Brisket fell apart on the slicer. Pulled too late. The probe was past tender into mush. Next time, pull at the first three-spot probe-tender check, not the fourth.
- Brisket chewed like a shoe. Pulled too early. The probe was not tender yet. The fix is patience.
- Slices came out stringy. You sliced with the grain. The flat and the point run perpendicular — rotate the point 90 degrees before slicing it.
Take notes after every cook. Same brisket, same pit, same method, and yet each one teaches something. The flat remembers. It always testifies.
The Major's Call
Choice packer. Texas-style trim. Salt and pepper, equal parts, optional pinch of garlic. Post oak. 250°F pit. Thin blue smoke. Lid down for the first three hours. Spritz lightly after hour three if needed. Wrap in pink butcher paper at 160 to 165°F when the bark is set. Probe-tender at around 203°F — feel, not number. Vented rest for 30 minutes. Held rest for one to four hours. Slice the flat against the grain at pencil thickness. Rotate the point 90 degrees and slice it the same way.
Every step has a reason. Every reason came from someone before you doing it the wrong way and writing it down. The Major didn't invent any of it. He just refuses to deviate from it.
A note for the first-timers. Don't improvise the first ten cooks. Run the method, take notes, get the muscle memory. Learn the feel. Learn your pit. Learn what bark looks like when it's truly set and what the flat feels like when it gives up the fight.
After ten cooks, the Major isn't your pitmaster anymore. You are.
Further Orders
- Print the Major's free meat temperature field guide and tape it inside the smoker cabinet. The 203°F number is brisket only; everything else needs its own number.
- Run weights through the Pitmaster Calculator before every overnight cook. Knowing whether you're at hour 14 or hour 22 changes your timing.
- Pick your next smoker upgrade with eyes open. The Major's gear intel is the curated list — built by Major Wood BBQ, no sponsored fluff.
- Grade the cook honestly. Save a slice, photograph the bark, write down what you'd change. Three cooks of notes beats a hundred YouTube videos.
- Officer's Club is where the deeper briefings on technique live — long-form pieces that don't fit in a public blog post.
- Brand new to all of this? Basic Training is the entry-level course. Six weeks, structured, the Major's classroom voice.
Probe tender. Rested. Sliced. Dismissed.